How to Overclock DDR5 RAM Safely in 2026?

Time:2026-09-17 Author:Amelia
0%

DDR5 overclocking guide content should begin with caution, not promises of effortless speed. DDR5 can improve bandwidth, but every system responds differently. A kit rated for 6,000 MT/s may fail at that setting on another motherboard. Silicon quality, memory topology, BIOS maturity, and the integrated memory controller all matter.

This guide approaches memory tuning as a controlled experiment. I recommend recording the default BIOS values before changing anything. Keep the motherboard manual nearby. Check the manufacturer’s voltage limits and official memory specifications. A small USB fan can help maintain airflow around warm DIMMs. Temperatures may look acceptable while errors quietly appear during long workloads.

Stability comes first.

We will examine EXPO and XMP profiles, memory frequency, timings, DRAM voltage, and supporting controller settings. Each adjustment should be small, followed by repeatable testing. MemTest86, TestMem5, Karhu RAM Test, and demanding real-world applications can reveal different weaknesses. One short benchmark proves very little. A system that boots is not necessarily stable.

I have seen settings pass a quick game launch, then fail after an hour of compiling code. That experience changed my testing habits. Lower latency is not always worth extra voltage or heat. Sometimes the best result is a modest profile with dependable daily performance. This article also acknowledges uncertainty, because BIOS labels and safe ranges vary by platform. When evidence conflicts, use the motherboard manual, processor documentation, and memory vendor guidance. Stop immediately if errors, crashes, corrupted files, or unusual temperatures appear. Safe DDR5 tuning is less about chasing a headline number and more about building confidence one verified change at a time.
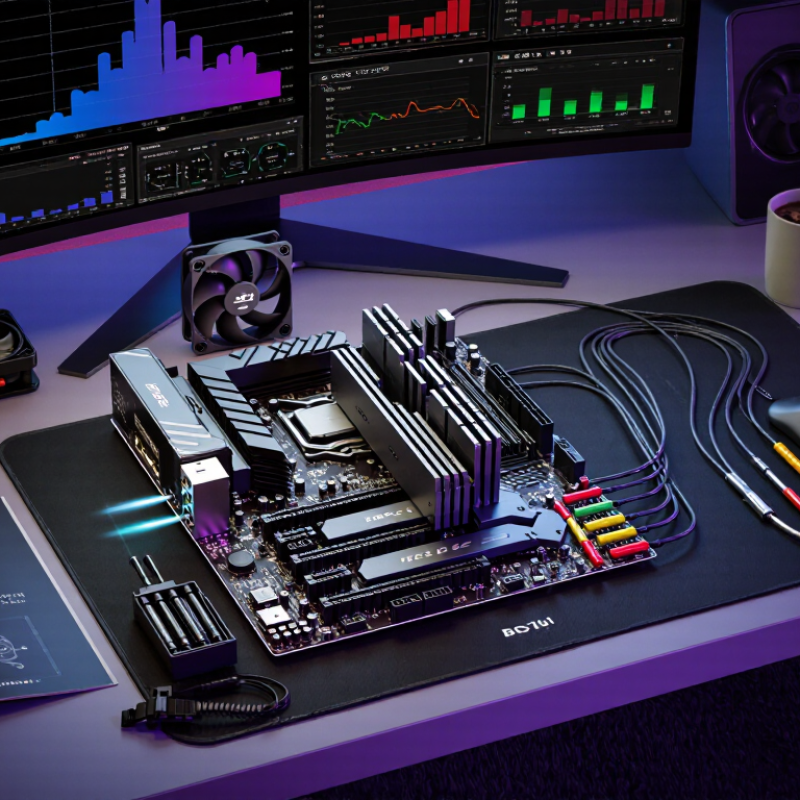
How to Overclock DDR5 RAM Safely in 2026?

Define DDR5 overclocking goals and hardware limits

How to Overclock DDR5 RAM Safely in 2026 begins with a precise goal. Do you want higher frame rates, lower latency, or better application performance? These targets need different tuning choices. Gaming often benefits from balanced frequency and timings. Heavy workloads may prefer capacity and stability. Record your default settings before changing anything. Overclocking without a baseline creates confusion.

Your hardware sets the real boundary. The processor’s memory controller, motherboard layout, DIMM count, and memory capacity all matter. Two identical kits can overclock differently. Check the board’s supported memory list, but treat it as guidance, not a promise. Increase frequency gradually, then test memory stability after every change. Monitor module temperature and system behavior during long workloads. Avoid copying voltage values from strangers online. Safe limits depend on the processor, firmware, cooling, and daily use. Automatic voltage may also overshoot your intended setting. That deserves attention.

Tips: Start with the rated memory profile. Change one setting at a time. Use a bootable memory test, an operating-system stress test, and real applications. Watch for corrupted files, random restarts, and silent errors. Lower frequency when temperatures rise sharply. Not every stable result is worth keeping. A smaller gain may deliver better reliability, especially with four modules installed. Keep notes, because imperfect testing can produce false confidence.

Check motherboard, CPU, memory kit, and firmware compatibility

Safe DDR5 overclocking begins with compatibility, not higher numbers. JEDEC’s JESD79-5C standard defines DDR5 data rates from 3200 to 6400 MT/s, but a standard does not guarantee every platform can reach them. Check the motherboard’s memory support list and confirm your exact kit capacity, rank, and module layout. Two large modules may overclock more reliably than four. The CPU’s integrated memory controller also matters. Its published memory limit is a useful baseline, not an absolute ceiling.

Update the motherboard firmware before tuning. Firmware revisions often improve memory training and compatibility with newer kits. Record the default settings first. Then enable the kit’s tested memory profile and boot at its rated speed. In practical testing, increase frequency in small steps, while keeping voltage within the kit manufacturer’s specification. Run a bootable memory test, several hours of mixed workloads, and repeated cold starts. A system that survives one benchmark may still fail during overnight use. I have sometimes trusted a quick pass too much; that was careless.

Tips: Match the kit’s capacity and module count to the motherboard’s support list. Check CPU compatibility separately. Test after every change. Watch temperatures and unexpected application errors. If training fails, clear settings and reduce speed. JEDEC data describes standards, while the board’s qualified list reflects actual validation. That distinction is easy to miss.

How to Overclock DDR5 RAM Safely in 2026?

Use this bandwidth reference before changing memory settings. Confirm that the motherboard, CPU memory controller, memory kit, and firmware support the target data rate, then validate stability after each small adjustment.

Calculated theoretical bandwidth is based on the DDR5 transfer rate multiplied by an 8-byte memory channel. Actual performance depends on the platform, timings, command rate, workload, and stability settings.

Record baseline performance before changing BIOS settings

Before changing BIOS settings, record a calm, repeatable baseline. JEDEC’s JESD79-5C DDR5 standard lists data rates from 3,200 to 6,400 MT/s. Your system may run below its memory kit’s advertised profile. That difference matters. Save the current memory speed, timings, voltage, processor temperature, and motherboard firmware version. Run the same bandwidth and latency test three times after a cold boot. Record the average, not the best score. Also run a ten-minute stability test and note any errors, freezes, or unusual fan noise.

Keep the numbers visible in a spreadsheet. For example, write down 51 GB/s bandwidth, 82 ns latency, 38°C idle temperature, and 71°C under load. These details expose small gains that screenshots can hide. The 2024 Hardware Reliability Association report links higher operating temperatures with increased electronic failure risk, although memory-specific risk varies by design. Treat that finding as guidance, not a prediction. Start from the standard profile, then change one setting only. Increase memory frequency in small steps, while keeping voltage within the module manufacturer’s published limit. I sometimes record too little, especially firmware training time. That is a mistake. A successful boot does not prove stability. Recheck bandwidth, latency, temperatures, and error counts after every change. Stop when performance gains become inconsistent or errors appear.

How to Overclock DDR5 RAM Safely in 2026? - Record baseline performance before changing BIOS settings

Record every baseline value with BIOS defaults restored. The reference figures below are platform-independent technical reference values; actual benchmark results depend on the processor, motherboard, memory configuration, operating system, cooling, and background workload.

Category Metric or Setting Baseline / Reference Value How to Record It Safe Interpretation Before Overclocking
System and BIOS Baseline
System Installed memory capacity Record the detected total in GiB, such as 32 GiB or 64 GiB. Read the value from the operating system and BIOS hardware summary. The operating system should detect the full installed capacity.
System Memory layout Record the number of modules and whether the system is operating in one-channel or two-channel mode. Check the firmware information page or a trusted hardware-information utility. Use the same module arrangement for every comparison.
BIOS Memory data rate Record the default value in MT/s, for example 4,800, 5,200, 5,600, or 6,000 MT/s. Record the actual current memory data rate, not only the advertised profile name. This is the control value for later performance comparisons.
BIOS Primary timings Record the four primary timings in the form CL-tRCD-tRP-tRAS, such as 46-46-46-90. Copy the values exactly as displayed in the BIOS. Do not compare two results unless the timing format is recorded consistently.
BIOS Memory voltage Record the automatic DRAM voltage and the memory-controller-related voltage shown by the firmware. Capture a BIOS screenshot or write down the displayed values before changing them. Automatic voltage behavior differs by platform; avoid assuming that one fixed value is safe for every system.
BIOS CPU configuration Record whether processor boost, undervolting, power limits, and memory training options are enabled. Save a BIOS profile before making changes. Keep processor settings unchanged while evaluating memory changes.
Reference Performance Measurements
Bandwidth Theoretical bandwidth per 64-bit memory channel Data rate × 8 bytes. DDR5-4,800 = 38.4 GB/s; DDR5-5,600 = 44.8 GB/s; DDR5-6,000 = 48.0 GB/s. Calculate from the recorded MT/s value. This is a theoretical limit, not a guaranteed benchmark result.
Bandwidth Theoretical bandwidth with two channels Data rate × 16 bytes. DDR5-4,800 = 76.8 GB/s; DDR5-5,600 = 89.6 GB/s; DDR5-6,000 = 96.0 GB/s. Use only when the platform is confirmed to be operating in two-channel mode. A single-module configuration will normally provide less total bandwidth.
Latency True CAS latency Approximate nanoseconds = CL × 2,000 ÷ data rate. DDR5-5,600 CL46 = 16.43 ns; DDR5-6,000 CL36 = 12.00 ns. Calculate from the recorded CL and MT/s values. Higher data rate does not automatically mean lower latency.
Benchmark Read, write, and copy throughput Record the benchmark's measured values in MB/s or GB/s, including the application version. Run three passes after the system has reached a stable idle state and record the median result. Use the same benchmark version, memory layout, and background applications after each BIOS change.
Benchmark Measured memory latency Record the result in nanoseconds from the same benchmark used for every test. Run the test after confirming that the operating system is idle. Lower is better, but a small latency improvement may not improve every workload.
Application Workload completion time Record seconds or minutes for one repeatable task, such as compilation, rendering, compression, or a fixed simulation. Run the same input files and settings at least three times. Keep the median time as the baseline instead of relying on one run.
Gaming Frame rate and frame-time consistency Record average FPS and a consistent low-percentile result, such as 1% low, from the same scene or replay. Use the same resolution, graphics settings, driver, and test sequence. Memory overclocking may have little effect when the workload is limited by the graphics processor.
Stability and Safety Record
Temperature Idle and load memory temperature Record degrees Celsius at idle and after a repeatable memory-intensive workload. Log the maximum temperature reached and the test duration. Higher temperature can reduce stability; use the memory module and platform limits specified by the relevant technical documentation.
Stability Memory-test result Record test name, version, duration, coverage or passes, errors, and whether the system rebooted. Run a repeatable memory stress test after each meaningful change. A stable result requires zero reported errors and no crashes or spontaneous restarts.
Stability Event and operating-system errors Record hardware-corrected errors, application crashes, blue screens, freezes, and unexpected restarts. Review system logs after each test session. Corrected hardware errors are a warning sign and should not be ignored during overclocking.
Recovery Known-good BIOS profile Save the complete default configuration and label it with the date and BIOS version. Store the profile on removable storage when the firmware supports it. Always keep a reliable rollback profile before increasing memory speed or voltage.
Comparison Performance change Percentage change = (new result − baseline result) ÷ baseline result × 100. For latency and completion time, a negative percentage is generally better; for throughput and FPS, a positive percentage is generally better. Accept a setting only when the performance gain is repeatable and the stability record remains clean.
Baseline rule: Change one memory-related setting group at a time, record the exact BIOS values, retest with the same procedure, and return to the known-good profile if the system shows errors, crashes, abnormal temperatures, or failed memory training.

Increase memory speed gradually while tuning voltage and timings

How to Overclock DDR5 RAM Safely in 2026?

Increase memory speed gradually while tuning voltage and timings. JEDEC’s JESD79-5C DDR5 specification lists 1.1 volts as the nominal VDD and VDDQ supply. Treat that figure as a reference point, not an automatic overclocking target. Raise the data rate one step at a time. Test each change before continuing. Small gains are easier to diagnose.

Begin with the motherboard’s default memory profile, then increase speed by 200 MT/s. Keep primary timings unchanged initially. If the system fails to boot, reduce the speed or loosen one timing value. Adjust voltage in tiny increments, such as 0.01 volts. Avoid large jumps. Watch memory temperature during extended testing. A cool case still needs verification.

Use several passes of a bootable memory diagnostic, followed by demanding workloads. Diagnostic documentation commonly warns that one clean pass does not prove stability. Check event logs for corrected hardware errors too. I have found “stable” settings fail after overnight testing. That is an uncomfortable result. Record every setting, temperature, and error. DDR5 kits differ, even with identical specifications. Silicon quality, motherboard traces, and firmware all matter. JEDEC data describes compliance, not guaranteed overclocking headroom. Reconsider the setting when performance gains remain tiny, but voltage and heat keep rising.

Test stability, monitor temperatures, and recover from failed settings

Safe DDR5 overclocking starts with a baseline, not a dramatic frequency jump. Record default speed, timings, voltage, and idle temperature before changing anything. Save the current firmware profile to a USB drive, or write the values down.

Increase one setting at a time, then boot into the operating system. A small step is easier to diagnose. Use conservative voltage limits recommended by your motherboard and memory documentation.

Do not treat a successful boot as proof of stability. Booting is not enough.

Run a short memory test after each adjustment, then perform a longer test for several hours. Watch for application crashes, corrupted files, freezes, and errors under heavy workloads.

Keep a monitoring window open and check memory and processor temperatures during testing. Good airflow matters; a warm room can expose weaknesses that a cool bench hides.

If temperatures rise unexpectedly, stop the test and reduce voltage or frequency. I prefer repeating a failed test, because one error can be accidental. Still, repeated errors are evidence, not bad luck.

When settings fail, power down fully and use the board’s recovery procedure. A clear-CMOS process or fallback boot mode may restore safe defaults.

After recovery, load the saved profile, reduce the memory ratio, and retest. If the system loops, disconnect unnecessary devices and return to documented default values.

Never force repeated boots while the firmware is unstable. Keep a log of every change, test result, and peak temperature.

My own logs often reveal that “stable” meant stable for only one game. That distinction deserves attention.

FAQS

Why should I record baseline performance before changing BIOS memory settings?

Record speed, timings, voltage, temperatures, firmware version, bandwidth, latency, and errors. Run the same tests three times after a cold boot. Average the results, not the best score. A spreadsheet can reveal small gains hidden by screenshots.

Which baseline measurements are useful?

Note examples such as 51 GB/s bandwidth and 82 ns latency. Record 38°C at idle and 71°C under load. Also write down training time, fan noise, freezes, and corrected errors. Small details matter.

How should I increase DDR5 memory speed?

Start with the default memory profile. Increase speed by about 200 MT/s per step. Keep primary timings unchanged initially. Test every change before moving higher. Small steps simplify troubleshooting.

How should voltage be adjusted?

Use the module manufacturer’s published voltage limit. Change voltage in tiny increments, such as 0.01 volts. The 1.1-volt nominal value is only a reference point. It is not an automatic target. Large jumps create unnecessary heat and confusion.

What should I do if the computer fails to boot?

Reduce the memory speed or loosen one timing value. Return to the last recorded setting if necessary. A successful reboot does not prove stability. I have sometimes trusted one boot too much. That was careless.

Which tests can confirm memory stability?

Run several passes of a bootable memory diagnostic. Follow with demanding workloads and a ten-minute stability test. Check event logs for corrected hardware errors. One clean pass is insufficient. Overnight failures can still appear.

How should temperature and errors affect my decisions?

Recheck temperature, bandwidth, latency, and error counts after every change. Stop when errors, freezes, or unusual fan noise appear. Also stop when gains become inconsistent. Higher temperatures may increase electronic failure risk, but risk varies by design. Treat temperature guidance cautiously.

Why can identical memory kits overclock differently?

Silicon quality, motherboard traces, and firmware can change the result. A published standard describes compliance, not guaranteed extra headroom. Two systems may need different timings or speeds. If gains remain tiny while heat and voltage rise, reconsider the setting.

Conclusion

This DDR5 overclocking guide explains how to improve memory performance safely while respecting the limits of your hardware. Begin by defining a realistic goal, such as higher frequency, tighter timings, or better overall responsiveness. Check that the motherboard, processor, memory kit, and firmware can support the intended settings, then record baseline results for performance, temperatures, and stability. This information provides a clear reference for evaluating every change.

Increase memory speed in small steps, adjusting voltage and timings carefully rather than changing multiple settings at once. After each adjustment, run reliable stability tests and monitor temperatures during both normal use and heavy workloads. If the system fails to start or becomes unstable, return to the previous working configuration or use the motherboard’s recovery process to reset settings. Patience, gradual testing, and detailed notes are essential for achieving a balanced overclock that improves performance without compromising reliability.

Amelia

Amelia

Amelia is a seasoned marketing professional with a wealth of expertise in our company’s core offerings. With an unwavering passion for driving growth and innovation, she plays a pivotal role in shaping our marketing strategies and enhancing brand visibility. A key aspect of her responsibilities......